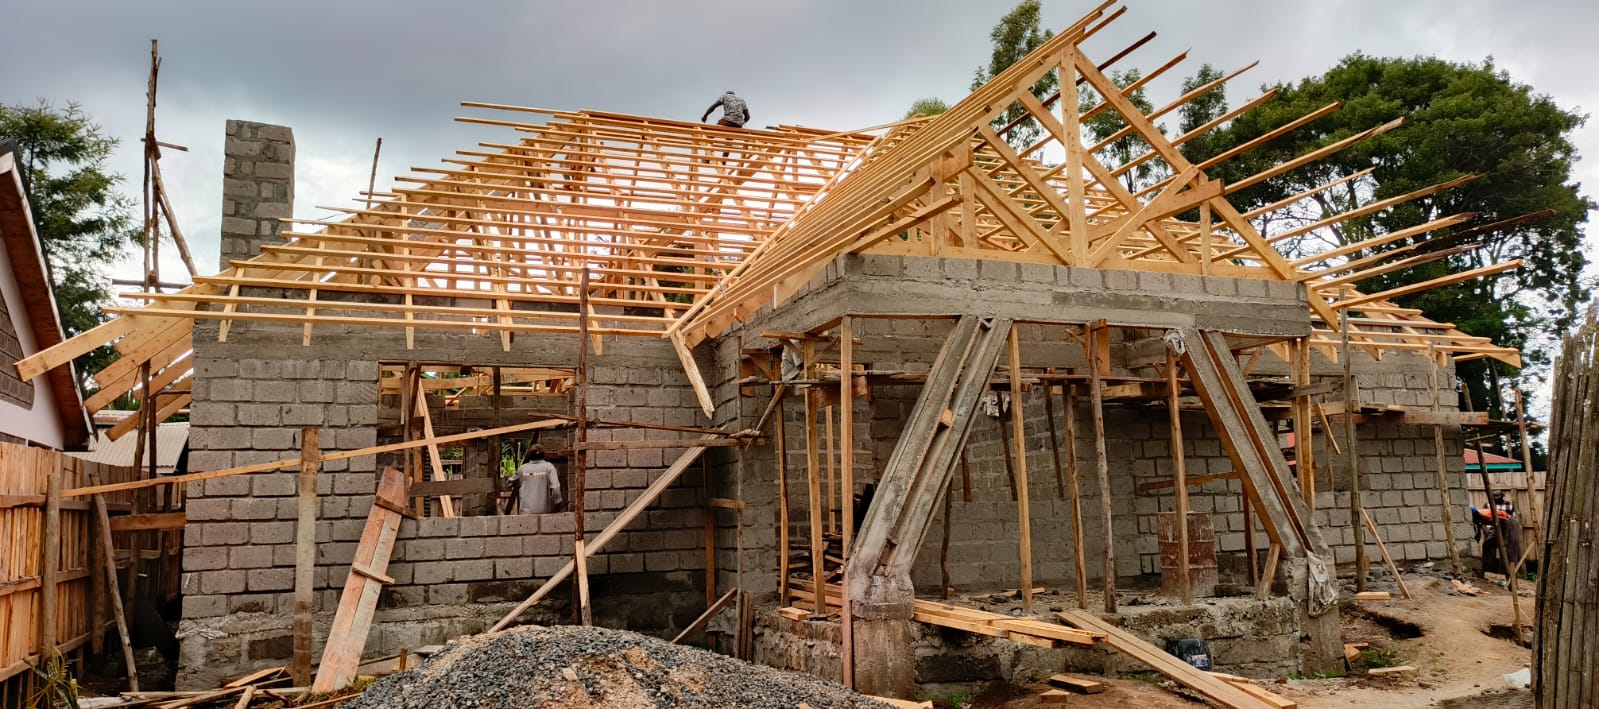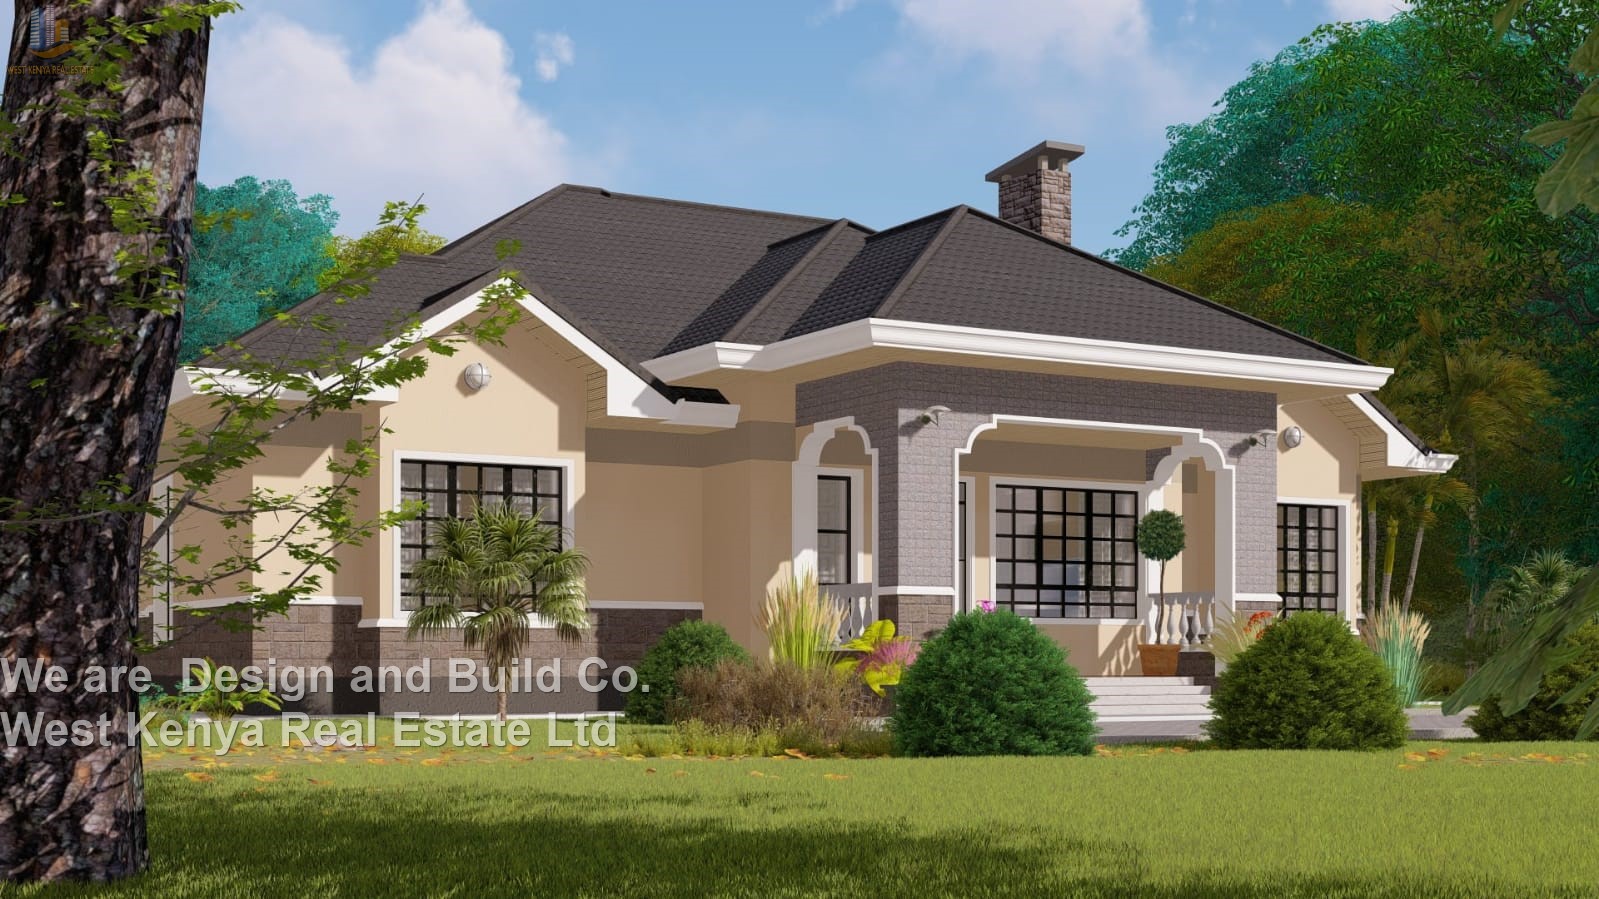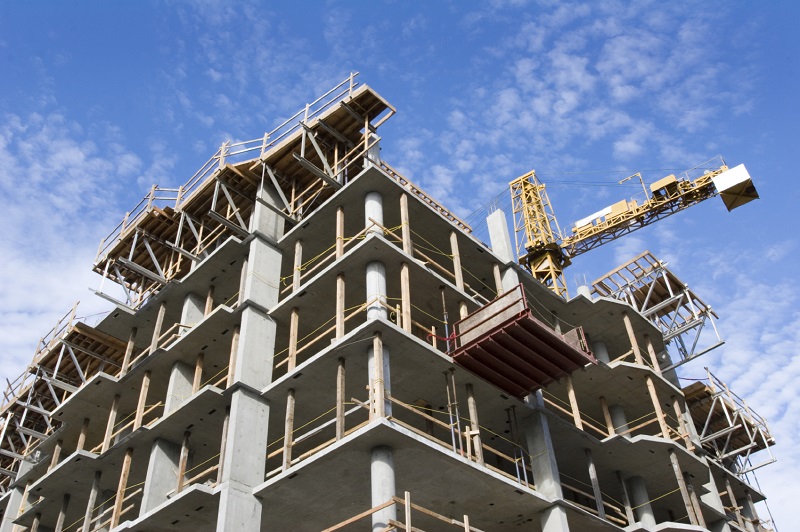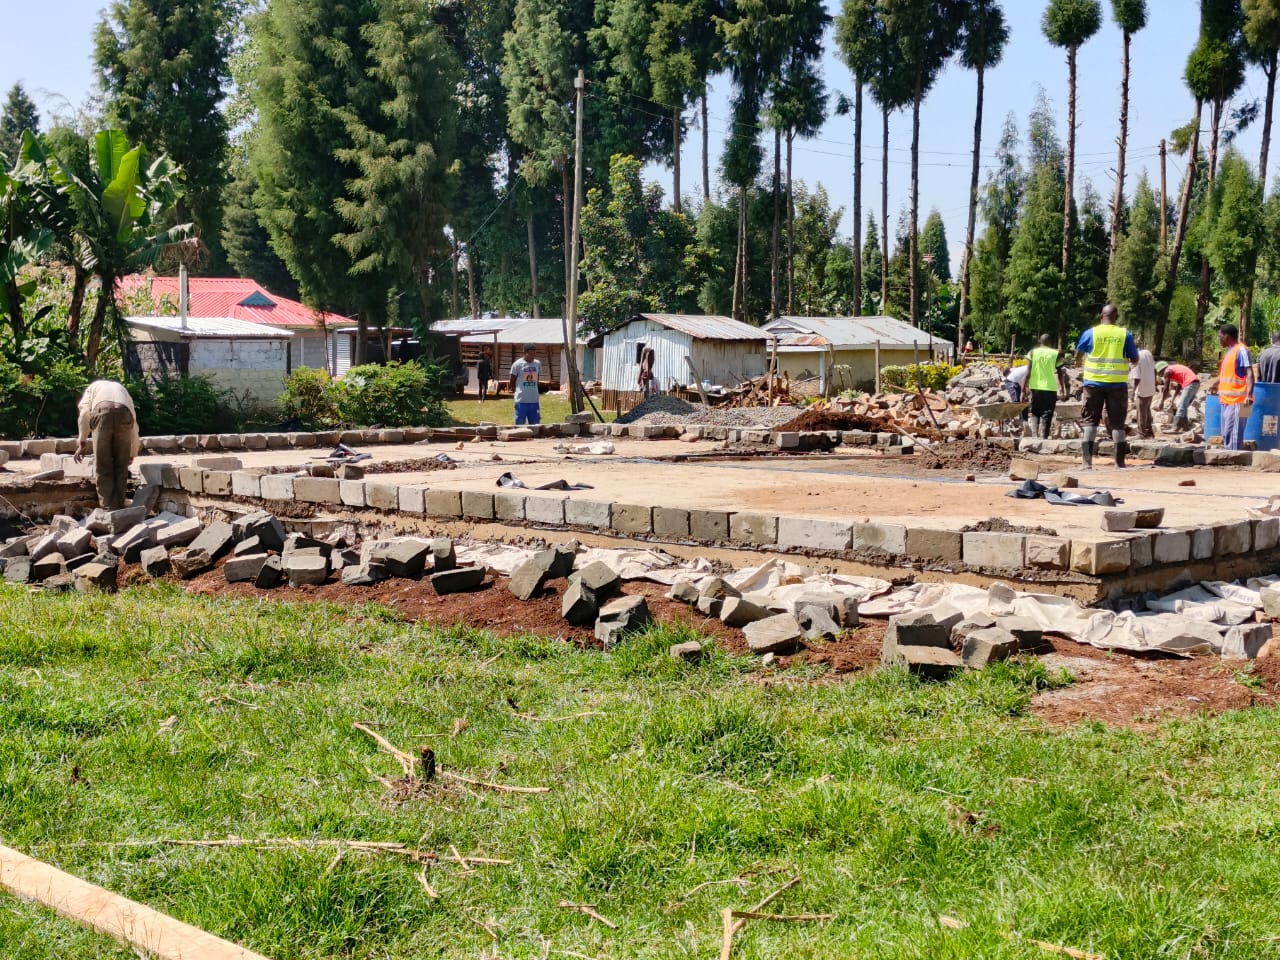
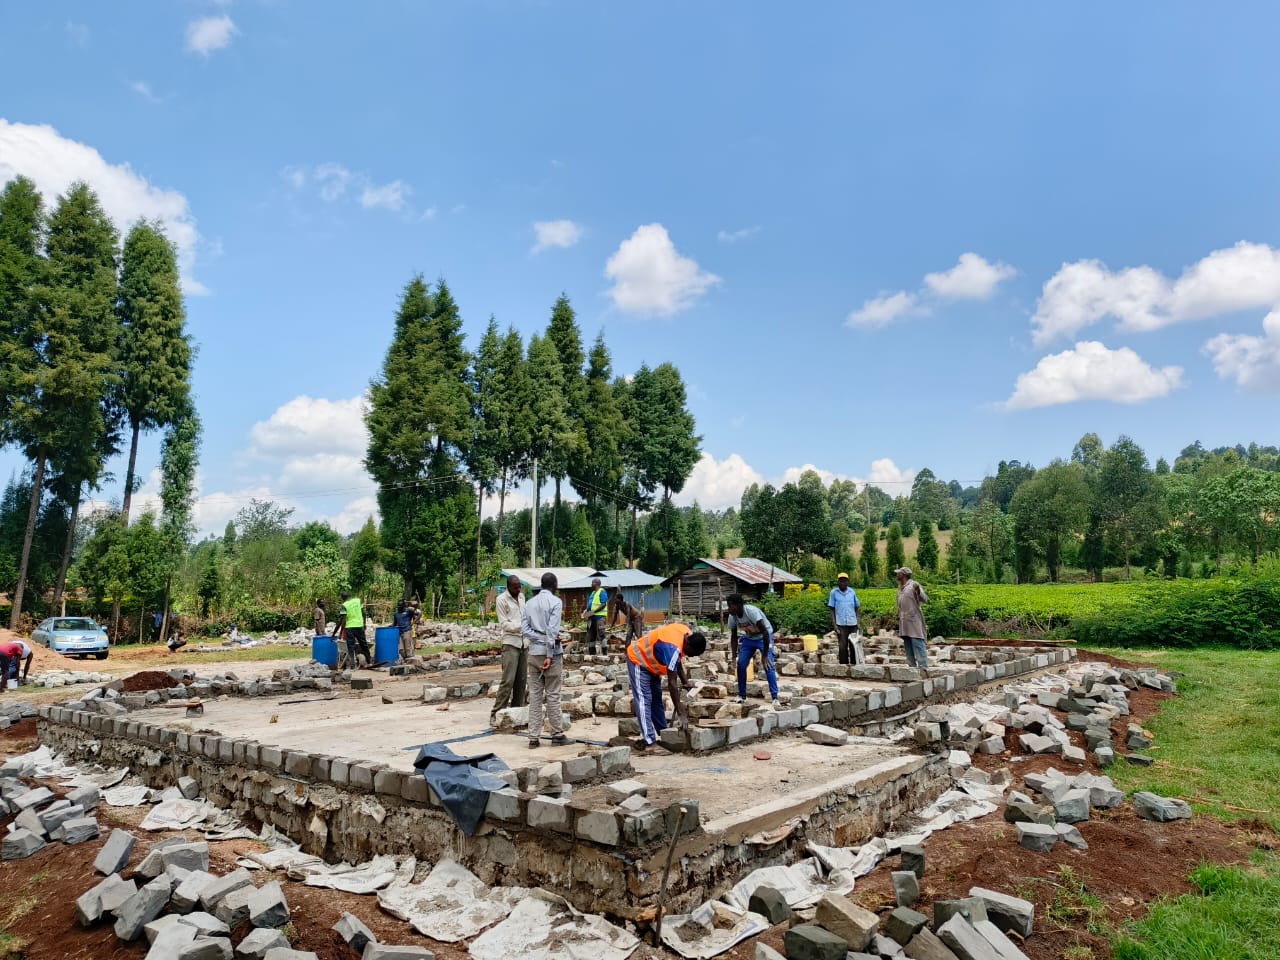
The walling stage of house construction in Kenya is when a project starts to look like a house. After the foundation and floor slab are done, the walls go up to the height of the ring beam, with openings for doors and windows. It is also the stage where small errors – walls out of plumb, weak mortar, badly placed openings – become expensive to fix once the roof is on.
This guide walks you through the walling stage step by step, compares the common walling materials, and gives you a checklist to use on site. It is part of our wider guide to the stages of house construction in Kenya, and follows on from our guide to the house foundation in Kenya.
Planning to build? Get a free cost estimate for your house from our quantity surveyor: WhatsApp 0789 217 685

Where the walling stage fits in the building process
A typical house in Kenya is built in this order: site clearing and setting out, excavation and foundation, substructure walls and floor slab, walling (superstructure), ring beam and (for maisonettes) the first-floor slab, roofing, and finally plastering, fittings and finishes. Walling usually starts once the floor slab has been cast and has had time to gain strength, and it ends when the walls reach the level of the ring beam or wall plate.
Walling materials compared
The material you choose affects cost, speed, finish and how much plaster you need. Your BQ should state the exact material and size so contractors price the same thing.
| Material | Strengths | Watch out for |
|---|---|---|
| Machine-cut stone | Widely available, strong, regular sizes, can be left exposed (fair-faced) or plastered | Quality varies by quarry; reject soft or crumbling stones |
| Concrete blocks | Uniform size, fast to lay, good for plastered walls | Weak blocks if poorly made or not cured; buy from a reliable supplier |
| Burnt clay bricks | Attractive exposed finish, good thermal comfort | Slower to lay; size and firing quality can vary |
| Interlocking soil blocks | Less mortar, can reduce plastering, suited to some low-cost designs | Needs trained masons and good soil–cement mix; check that your drawings and approval allow it |
The walling stage step by step
- Check the slab and setting out. Confirm the slab level and mark the wall lines from the architectural drawings, including wall thicknesses and door positions. Check diagonals of each room to make sure corners are square.
- Lay the first course carefully. The first course sets the line and level for everything above it. Corners are built first, with a string line between them.
- Mix mortar to the specified ratio. Use the cement-to-sand mix given in your BQ or by the engineer, with clean sand and clean water. Mix only what can be used before it starts to set.
- Bond the walls properly. Joints in one course should not sit directly above joints in the course below. Where your structural drawings specify reinforcement in the bed joints (such as hoop iron or mesh), install it at the stated intervals and at wall junctions.
- Keep walls plumb and level. Masons should check with a spirit level and plumb line every few courses, not only at the end of the day.
- Form the openings. Leave openings for doors and windows at the sizes on the drawings. Fix door frames where the design calls for them to be built in.
- Cast lintels over openings. Reinforced concrete lintels (or a continuous lintel band where the design shows one) carry the wall above doors and windows. Bearing on each side must follow the structural drawings.
- Plan for services. Agree with the electrician and plumber where conduits and pipes will run, so that walls are not hacked badly later.
- Cure the walls. Wetting new masonry, especially in hot, dry weather, helps the mortar gain strength and reduces cracking.
- Prepare for the ring beam. Walls are brought to an even level so the ring beam can be cast on top, tying the walls together before roofing or the next floor.
The video below shows the walling process on one of our projects.
Site inspection checklist for the walling stage
Whether you visit the site yourself or receive photos, use these checks before you release the walling payment:
- Room sizes and wall positions match the drawings (measure at least two rooms).
- Walls are vertical – a plumb line or level held on the wall shows no lean.
- Mortar joints are full and of even thickness, with no gaps visible from either side.
- Stones, blocks or bricks are sound – no cracked or crumbling units in the wall.
- Door and window openings are the sizes shown on the drawings and at the right height.
- Lintels are in place over every opening and are not cracked.
- Any specified bed-joint reinforcement is visible at corners and junctions.
- The top of the walls is level and ready for the ring beam.
- Materials on site are stored off the ground and cement is kept dry.
Costly mistakes to avoid
- Too little cement in the mortar. Weak mortar saves a few bags but causes cracks and loose walls later.
- Walls out of plumb. Leaning walls need thick plaster to hide them and can cause problems with doors, windows and the roof.
- Openings in the wrong place. Moving a window or door after walling means cutting walls and recasting lintels.
- Skipping lintels or short bearings. Cracks above doors and windows are a common sign of this.
- Hacking deep chases for pipes and cables. Plan service routes before walling, not after.
- No curing in hot weather. Fresh mortar that dries too quickly loses strength.
- Paying ahead of progress. Release the walling payment only after inspection.
How much does the walling stage cost?
Walling cost depends on the total wall area, the material, the mortar, labour and the number of openings and lintels, so it is best priced from a Bill of Quantities rather than a rule of thumb. To see the whole budget in context, start from the total: using the Integrum 2026 indicative rates, a 120 m² standard bungalow works out at about KSh 6,567,600 in Nairobi (KSh 54,730 per m²) or KSh 6,849,600 in Western and Nyanza (KSh 57,080 per m²). Walling is one of the larger items within that total, and your BQ will show its exact share.
If you are still choosing a design, a simple rectangular plan with fewer corners and openings keeps walling cost down – for example our simple 3-bedroom bungalow house drawings (WKRE062). For a full budget, see our guide to house construction costs in Kenya, and if you need to spread the cost over time, read how to build a house in phases without stalling.
Who should supervise the walling stage?
Walling should be done by experienced masons under a site supervisor who checks lines, levels and materials daily. Contractors in Kenya are registered by the National Construction Authority; ask for proof of registration before you hire. With Design and Build, the same team that prepared your drawings supervises the walls, so openings, lintels and service routes match the design.
Want the real cost of YOUR house?
Send us your house plan (or the number of bedrooms and your plot location) on WhatsApp. Our quantity surveyor will reply with a free cost estimate, stage by stage, including walling.
Or call 0789 217 685 / 0724 481 087.